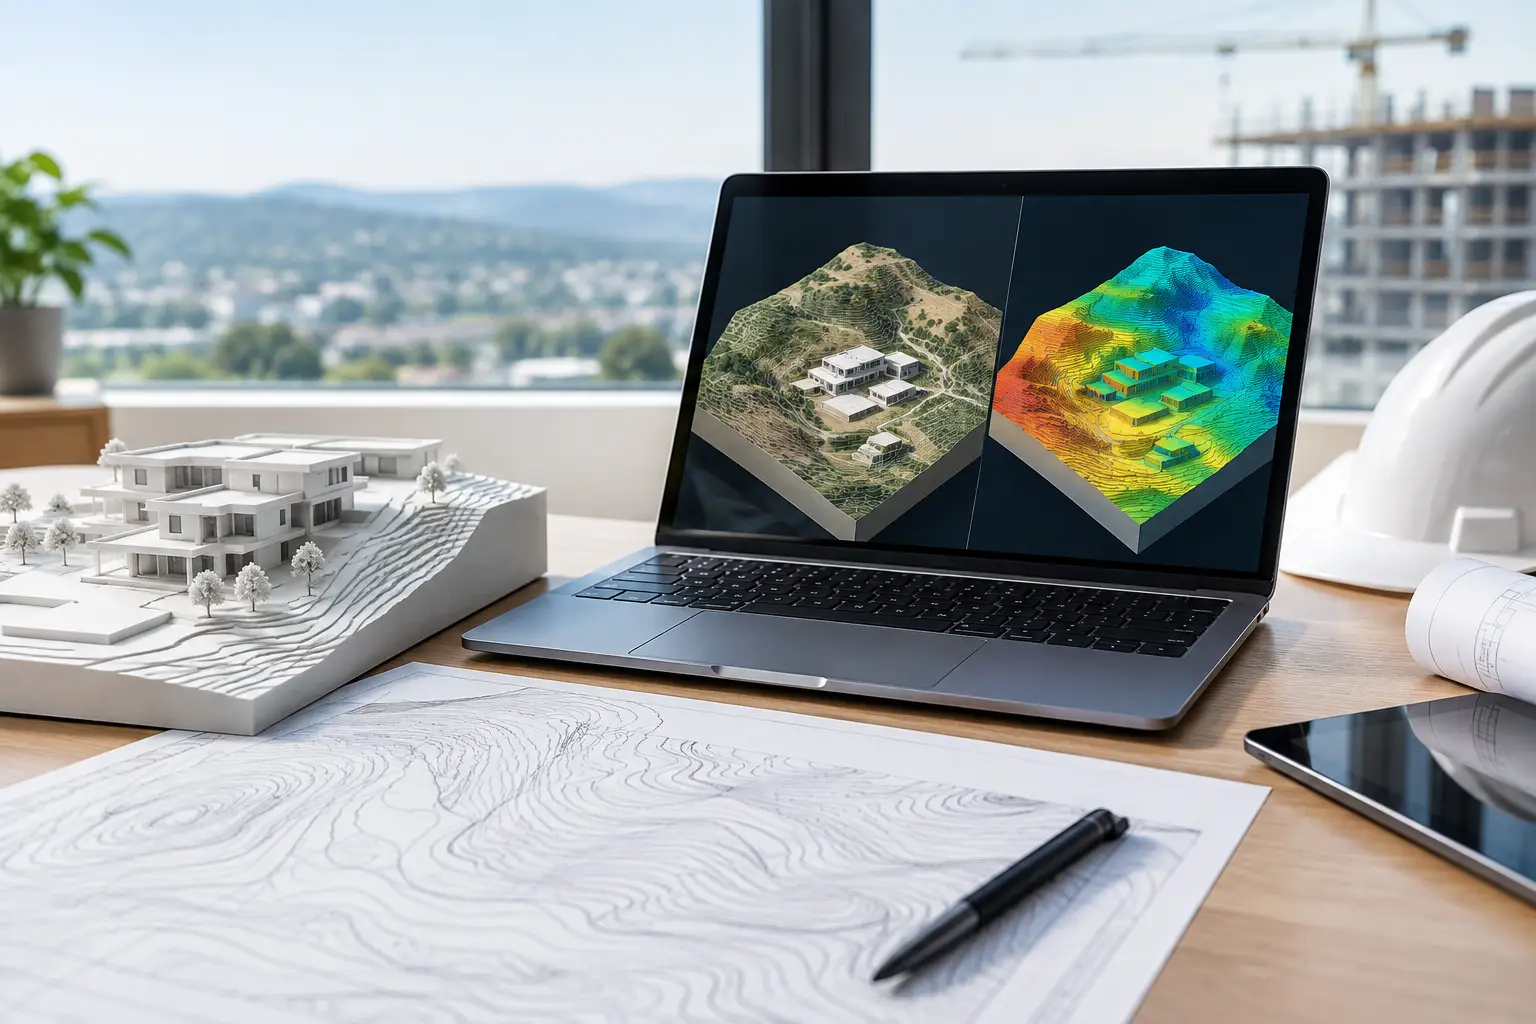
Terrain Generator Comparison for BIM Site Models

A terrain generator comparison matters most when the site model has to support decisions, not just look convincing in a presentation. A shaded hillside viewed in a browser may be useful for context, but it cannot necessarily tell a Revit user whether the imported surface is correctly located, editable, or detailed enough to test drainage and finished floor levels.
For architects and landscape teams, the useful question is not simply which terrain tool creates the most attractive terrain. It is which one turns a defined project boundary into dependable geometry that can be used in the model already driving the project.
Terrain generator comparison: what should be compared?
Most terrain tools sit in one of four categories: visual map viewers, procedural terrain generators, GIS platforms, and BIM-ready terrain data services. They can all show topography, yet they solve very different problems.
A visual map viewer is designed for orientation. It can help a team understand the wider landscape, spot contours, or review an aerial image before a site visit. Its limitation is that the terrain is often displayed as streamed imagery or a web mesh. The user may be unable to define an exact boundary, retrieve the underlying elevation points, or bring the terrain into a coordinated project coordinate system.
Procedural terrain generators create landforms mathematically. They are common in games, visualisation, and concept modelling because they can make valleys, ridges, erosion patterns, and dramatic slopes quickly. They are effective where realism is aesthetic rather than geographic. They are not appropriate when a retaining wall, accessible route, flood path, or proposed building platform depends on actual surveyed or official elevation data.
GIS software provides the greatest analytical depth. A skilled user can obtain source data, reproject it, clip a boundary, filter points, build a surface, and export a file for modelling. That is valuable for specialist mapping and civil workflows. For a design team that needs a site model before design review, however, the process can introduce unnecessary software, licence, and training overhead.
BIM-ready terrain services focus on the hand-off between geographic data and design software. The goal is straightforward: define the site, select an appropriate point spacing, generate terrain from authoritative elevation data, and download coordinates in a usable format. This is usually the most direct option when the result must become a Revit Toposolid, SketchUp mesh, Archicad Mesh, Rhino surface, or Grasshopper input.
The criteria that affect design work
Source data and vertical confidence
The first distinction is the data beneath the terrain. A smooth surface can conceal coarse elevation sampling, old data, or interpolation that is unsuitable for a small, level-sensitive site.
Look for a clear explanation of whether terrain is derived from official national mapping, LiDAR, photogrammetry, or another published source. LiDAR can provide useful detail where it is available, but its resolution, capture date, vegetation treatment, and ground classification still matter. A dense point cloud does not automatically mean a better terrain model if it includes trees, structures, or noise rather than bare earth.
The right level of detail depends on the task. Early massing on a large site may only need a broader point spacing to establish slope and setting. A landscape scheme with terraces, accessible paths, and drainage falls requires more local detail. For detailed construction set-out, the generated terrain should support coordination, not replace a current site survey where one is required.
Coordinate systems and site placement
Coordinate reliability is often where a terrain generator comparison becomes practical. A mesh can look correct when viewed alone but create serious problems once it meets a survey, civil drawing, or shared BIM model.
Check whether the output retains real-world X, Y, and Z values and whether the coordinate reference system is made clear. Data that arrives as clean XYZ points gives the design team more control: points can be imported, checked, simplified where necessary, and aligned to the agreed project coordinates.
This matters particularly on larger sites. If a model is moved to a convenient local origin without a clear record of the transformation, coordination can become difficult later. A dependable workflow establishes the relationship between the terrain, building model, survey information, and civil design early rather than correcting offsets at documentation stage.
Boundary control
Terrain should be generated for the area being designed, not for a vague rectangle around it. The ability to draw a polygon, enter coordinates, or search for a location is useful because different sites demand different boundaries.
A narrow linear boundary may suit a path, access road, or river edge. A larger polygon may be needed to understand surrounding landform and overland water movement. Including too much area creates an unnecessarily heavy model; clipping too tightly can remove the context needed to resolve grading at the site edge.
The best tools let the user set the boundary deliberately before generation. That keeps point counts, download sizes, and modelling performance proportionate to the actual design question.
Export format and modelling workflow
A terrain tool is only as useful as its export. If your workflow begins in Revit, a CSV or XYZ file should import predictably into the Toposolid process. In Rhino and Grasshopper, XYZ data should provide a clean basis for point generation, triangulation, filtering, or surface creation. SketchUp and Archicad users may need mesh-oriented outputs, DXF points, or a workflow that converts the elevation data into their native terrain object.
Avoid treating file format as a minor checkbox. An export can technically open in an application yet still demand extensive cleaning if it contains duplicated points, unexpected delimiters, inconsistent units, or no coordinate context. The useful export is the one that gets the team from downloaded data to editable site geometry with the fewest corrective steps.
Topo-grapher is designed around this requirement: users define a boundary, generate terrain from available real-world elevation data, and download clean XYZ point-cloud data for BIM and modelling workflows.
Which terrain tool suits each stage?
For a feasibility study, visual terrain can be enough to discuss broad slope, views, and the relationship between the site and its surroundings. It is quick, and it avoids investing time before the brief or site boundary is stable. It should not be mistaken for a coordinated site base.
For concept design, BIM-ready elevation data is usually the stronger choice. At this stage, the model needs to test how a building meets the ground, whether an entrance route is plausible, and how much cut and fill a proposal may imply. Real coordinates make those conversations more credible while still allowing the terrain to be kept relatively light.
For detailed design, the model may need a combination of terrain sources. Official elevation data can provide the surrounding context and establish the wider landform. A current topographical survey, utility information, drainage design, and civil engineer’s surface may then govern the immediate construction area. There is no single generator that should replace these project-specific inputs.
For urban or infrastructure work, scale changes the decision again. Large extents benefit from manageable sampling and carefully selected boundaries. Generating every available point across a masterplan can slow Revit, complicate sharing, and obscure the design model. Use denser data only where the resolution adds value, such as road interfaces, public realm levels, or critical drainage routes.
A practical selection method
Choose a terrain generator by starting with the required output, not the map display. Ask whether the team needs editable points or merely an image, whether the data must remain in real-world coordinates, and whether the result will be checked against survey and civil information.
Then match point density to the decision. A low-density dataset may be entirely adequate for a large contextual model. A smaller but denser area may be more useful around a proposed building, ramp, or landscaped threshold. Keeping these outputs separate can be better than forcing one oversized terrain object to serve every purpose.
Finally, test a small area in the target application before committing to a broader download. Import the file, verify units and elevation direction, inspect point count, and confirm that the resulting surface performs acceptably. Ten minutes spent checking this early can prevent a site model from becoming an unreliable background object that nobody trusts.
The right terrain generator should leave the team with a model they can interrogate: one that supports level decisions, exposes slope, and remains usable when the design moves from sketch to coordination.